
Table of Contents
- What Makes a Welding Helmet Professional Grade
- Auto-Darkening vs Passive: What Professionals Choose
- Best Welding Helmet for TIG Welding
- Welding Helmet Shade Guide: Choosing the Right Setting
- Welding Helmet Safety Standards UK: EN 379 and EN 175
- Welding Helmet Maintenance: Keeping Your Kit Compliant
- Features That Matter for Daily Professional Use
- Choosing the Best Welding Helmet for Professionals: Final Checklist
- Frequently Asked Questions
Last Updated: 4 October 2026
What Makes a Welding Helmet Professional Grade
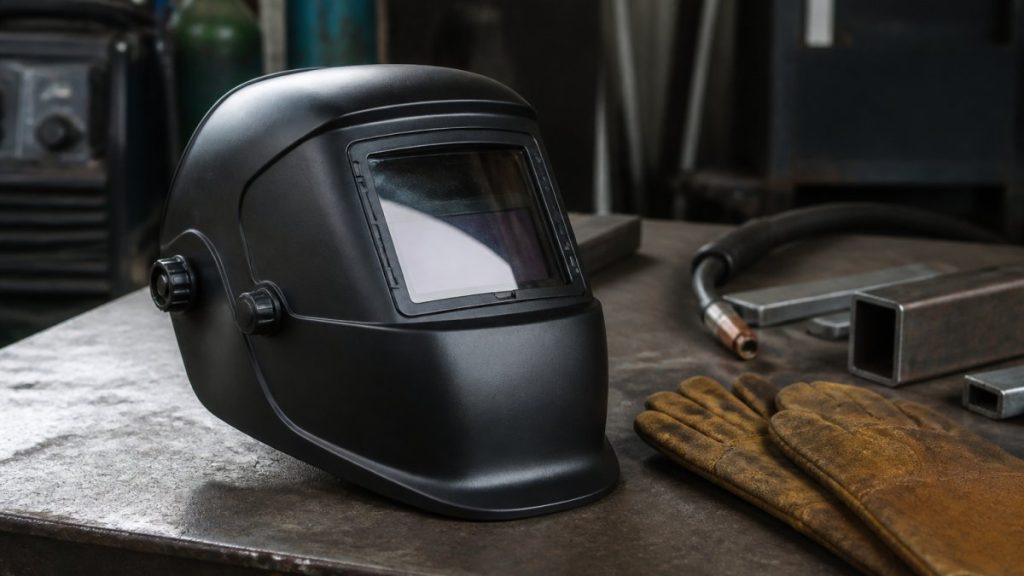
A professional-grade welding helmet is one built to survive daily arc time, hold its shade setting reliably, and meet the standards your site insurance and HSE inspector will actually ask about. At Norsemen Safety, we supply welding and safety kit to contractors, fabrication shops and maintenance engineers, and the difference between a hobby helmet and a professional one shows up fast: on the third shift, in the rain, and when the lens fogs at the wrong moment.
Most guides list features without telling you which ones break first. Here is the honest version.
Three things separate professional helmets from budget ones:
- Optical quality. Higher optical class ratings mean less distortion at the edges of the lens, which matters when you are welding a long seam and cannot keep moving your head.
- Switching speed. The lens must darken before the arc strikes. Slow switching means a flash, and repeated flashes cause arc eye.
- Build and spares. Headgear, sweatbands, front cover lenses and the auto-darkening cartridge itself should all be replaceable. If you cannot buy spares, the helmet is disposable.
Auto-Darkening vs Passive: What Professionals Choose
Auto-darkening is now the default choice for professionals doing production or mixed-process work. Passive helmets still have a place, though, and anyone who tells you otherwise has not spent a day in a dusty fabrication bay.
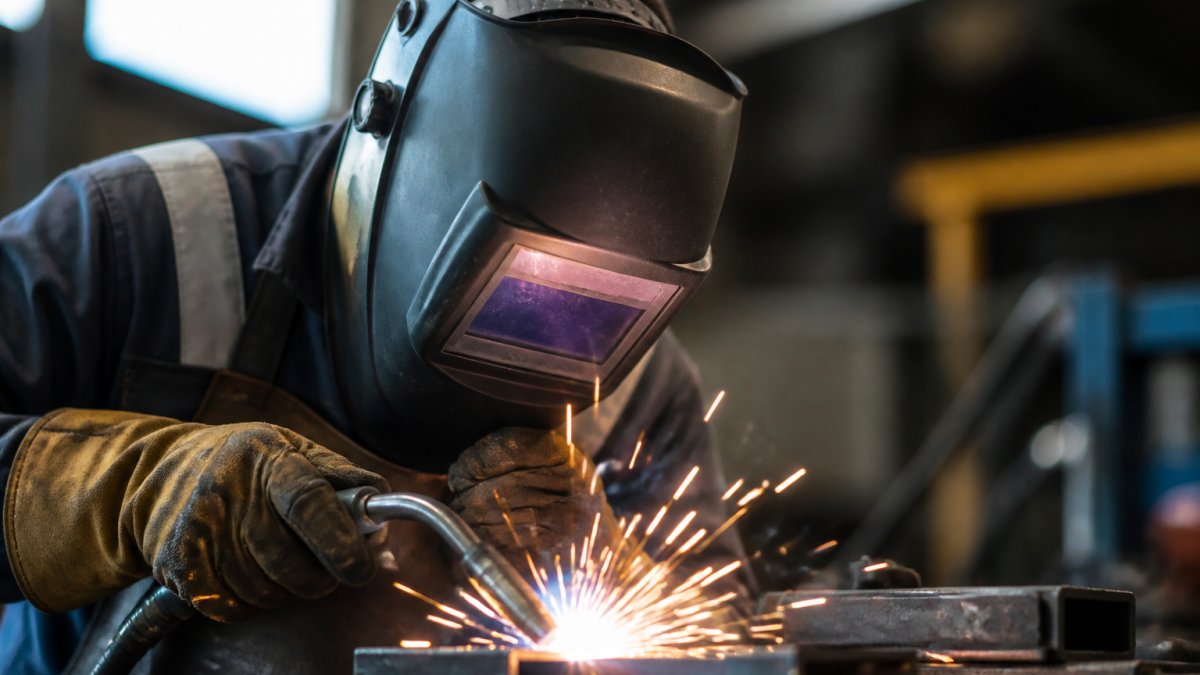
Auto-darkening lenses switch automatically when the arc strikes, so you can position the torch with the helmet down and both hands free. That is the whole argument. Position, strike, weld.
Passive helmets use a fixed shade filter. They are lighter, cheaper, and there is nothing electronic to fail. For stick welding in filthy conditions, or for a spare helmet that lives in the van, that simplicity is worth something.
The trade-off is real: with passive, you flip the helmet down with a nod, which means one hand off the work and a moment of blind positioning. For TIG work at low amperage, that moment is often the difference between a clean start and a tungsten contamination.
If you keep a passive helmet as a backup, check the filter glass for pitting every few months. A scratched filter scatters light and quietly reduces the protection you think you have.
Best Welding Helmet for TIG Welding
The best welding helmet for TIG welding is an auto-darkening model with a low minimum shade, a fast switching speed, and a sensitivity control that will not trigger on the low-amperage arc. TIG is the demanding one. The arc is quiet, the amperage is low, and cheap sensors simply do not see it.
What to look for:
- Low minimum shade. TIG at low amps needs a lighter shade than stick or MIG. A helmet that starts at shade 9 or 10 is the wrong tool.
- Adjustable sensitivity. Without it, the lens either fails to trigger or flickers constantly in bright workshop light.
- Adjustable delay. TIG welds cool slowly. A short delay leaves you looking at a glowing red bead through a clear lens, which is exactly what you do not want.
A common mistake is buying one helmet for every process and setting it to a compromise shade. It never works well for any of them. If you TIG all day, buy for TIG.
Welding Helmet Shade Guide: Choosing the Right Setting
The correct shade setting depends on the welding process and the amperage you are running, not on personal preference. Too light and you risk arc eye. Too dark and you cannot see the joint, so you compensate by getting closer to the arc.
| Process | Amperage range | Typical shade |
|---|---|---|
| TIG, low current | Up to 100 A | 9-10 |
| TIG, higher current | 100-200 A | 10-11 |
| MIG, light | Up to 150 A | 10 |
| MIG, heavier | 150-250 A | 10-11 |
| Stick (MMA), light | Up to 100 A | 10 |
| Stick (MMA), heavier | 100-200 A | 11-12 |
Two practical points. First, if you weld in a tight space, the reflected light off the walls means you may need a darker shade than the table suggests. Second, shade numbers on auto-darkening helmets refer to the darkened state; the light state is a separate figure, usually shade 3 or 4, and it matters for grinding and inspection work.
Never rely on squinting or turning your head to reduce glare. Repeated exposure to arc flash causes arc eye, which is painful, can take hours to appear, and means time off the tools.
Welding Helmet Safety Standards UK: EN 379 and EN 175
Compliant welding helmets sold for professional use are tested to EN 175 for the helmet shell and EN 379 for auto-darkening filters. These are the standards your PPE procurement should be checking against, and they sit under the Personal Protective Equipment Regulations that place duties on employers to supply suitable equipment at no cost to the worker.
What the markings tell you:
- EN 175 covers eye and face protection for welding, including the helmet body and the headband.
- EN 379 covers automatic welding filters, including switching time, light and dark states, and the optical class.
- A CE mark on the helmet confirms the manufacturer’s declaration that it meets the applicable requirements.
The HSE guidance on PPE at work sets out what employers must provide and maintain. The official EN 175 standard listing confirms the current scope of the helmet standard if you need to check a specific product’s claims.
Here is the part most procurement teams get wrong: a helmet that was compliant when bought can fall out of compliance through ordinary wear. Cracked shells, missing cover lenses and stretched headgear all affect protection, and the employer’s duty to maintain equipment does not lapse because the kit is old.
Welding Helmet Maintenance: Keeping Your Kit Compliant
Maintenance is what keeps a compliant helmet compliant, and it is the task most workshops skip. A helmet that passed inspection when it arrived will fail it within a year if the cover lenses are scratched and the headgear has lost its tension.
The routine that works:
- Replace the front cover lens as soon as it is pitted or scratched, not when it becomes impossible to see through
- Check the shell for cracks, especially around the headband mounts and the lens housing
- Clean the auto-darkening cartridge with a soft cloth only, never solvents
- Inspect the headgear for stretched or perished straps and replace the assembly
- Test the lens switches correctly before every shift, by facing a bright light source
- Store the helmet in a bag, not loose in a van where it will be crushed
Keep a written record. When an inspector asks how you maintain your PPE, a dated log is a far better answer than “the lads look after their own.”
Spares are the real test of a professional helmet. If you cannot source replacement cover lenses, sweatbands and headgear for a model, it is not a professional purchase no matter what the spec sheet says.
Features That Matter for Daily Professional Use
The features that matter most for daily use are the ones you touch every shift: headgear comfort, lens controls you can adjust with gloves on, and a shell that does not trap heat. Everything else is marketing.
Ranked by how often they affect your working day:
- Headgear fit. A helmet that slips or pinches gets worn incorrectly, which is worse than no helmet at all.
- Glove-friendly controls. Shade, sensitivity and delay dials should be usable without removing your gloves.
- Weight and balance. A front-heavy helmet strains the neck over a full shift.
- Field of view. A wider viewing area reduces head movement on long seams.
- Grinding mode. A useful extra if you switch between welding and grinding, but not a substitute for a face shield.
What most reviews miss is that the cartridge is the consumable. The shell can last years; the auto-darkening filter has a working life and will eventually need replacing. Budget for that.
Choosing the Best Welding Helmet for Professionals: Final Checklist
Choosing the best welding helmet for professionals comes down to matching the helmet to your process, your site conditions and your spares supply, then maintaining it properly.
Use this before you order:
- Confirm the process and amperage range you weld most often, and check the shade range covers it
- Check the helmet is marked to EN 175 and the filter to EN 379
- Confirm replacement cover lenses, sweatbands and headgear are available
- Check the optical class rating if you weld long seams or fine work
- Decide whether you need grinding mode
- Buy one helmet per process if your work is mixed, rather than compromising on one
At Norsemen Safety, we stock welding helmets and PPE for contractors, fabrication shops and maintenance teams, backed by over 40 years in the trade. Our team can help you match a helmet to your process rather than leaving you to guess from a spec sheet, and we deliver across the UK and Ireland with Buy Now, Pay Later available through PayPal.
Frequently Asked Questions
What is the best welding helmet for professional welders?
The best welding helmet for professionals depends on your main process. For TIG welding, look for a helmet with a light shade range down to shade 5 or 6, a fast switching speed under 0.5 milliseconds, and a wide viewing area. For MIG or arc welding, prioritise a broader shade range up to shade 13, durable build quality, and a comfortable headband for long shifts. Always check that the helmet carries EN 379 and EN 175 certification before buying.
Are auto-darkening welding helmets better for professional use?
Auto-darkening helmets are generally preferred by professionals because they let you keep the helmet down while positioning the torch, which improves accuracy and reduces neck strain. They switch from light to dark in a fraction of a second, protecting your eyes from arc flash. The main trade-off is cost and the need for a power source, usually solar cells with battery backup. For high-volume daily welding, the productivity gains justify the investment.
What shade should a professional welding helmet be?
Shade selection depends on the welding process and current. For TIG welding at low amperage, a shade 9 or 10 is typical. MIG welding usually calls for shade 10 to 12, while arc or gouging may need shade 12 to 14. A welding helmet shade guide, often printed inside the helmet, gives exact recommendations. Choosing the correct shade protects against arc eye and lets you see the weld pool clearly without straining.
What safety standards should a welding helmet meet?
In the UK, welding helmets should meet EN 175 for eye and face protection and EN 379 for auto-darkening filters. These standards cover impact resistance, optical quality, and switching performance. Look for the CE mark and check that the helmet is suitable for the welding processes you use. Employers must ensure PPE meets these standards under the Personal Protective Equipment at Work Regulations 1992, so always verify certification before purchase.
The wrong helmet costs you more than the price difference: it costs you arc eye, downtime and a failed inspection. If you are kitting out a team or replacing a single worn-out lid, Norsemen Safety can help you get the specification right the first time. Shop now for professional welding helmets and safety equipment, with expert support from a team that has supplied the trade for four decades.