
Table of Contents
- What You’ll Need Before Choosing Electrodes
- Understanding Welding Rod Numbers Explained
- Stick Welding Electrode Sizes and Their Uses
- E6013 vs E7018: Which Electrode Should You Use?
- Reading a Welding Electrode Amperage Chart
- Step-by-Step: Selecting the Right Electrode for Your Project
- Common Mistakes to Avoid When Choosing Welding Electrodes
- Frequently Asked Questions
Last Updated: October 19, 2026
What You’ll Need Before Choosing Electrodes
Before you pick an electrode, gather a few essentials. You need to know your metal type first. Steel, stainless steel, and aluminium each require different electrodes.
Check your welding machine’s capacity next. Every machine has a maximum amperage rating. Your electrode choice must match what your machine can deliver.
You’ll also need to understand your project requirements. Are you joining thin sheets or thick plates? Will this joint bear heavy load or is it decorative? The answers change everything.
Choosing welding electrodes for beginners starts with honest assessment of three things: your metal, your machine, and your job.
Write down these details before shopping:
- Metal type and thickness
- Machine amperage range
- Joint position (flat, vertical, overhead)
- Strength requirements
Understanding Welding Rod Numbers Explained
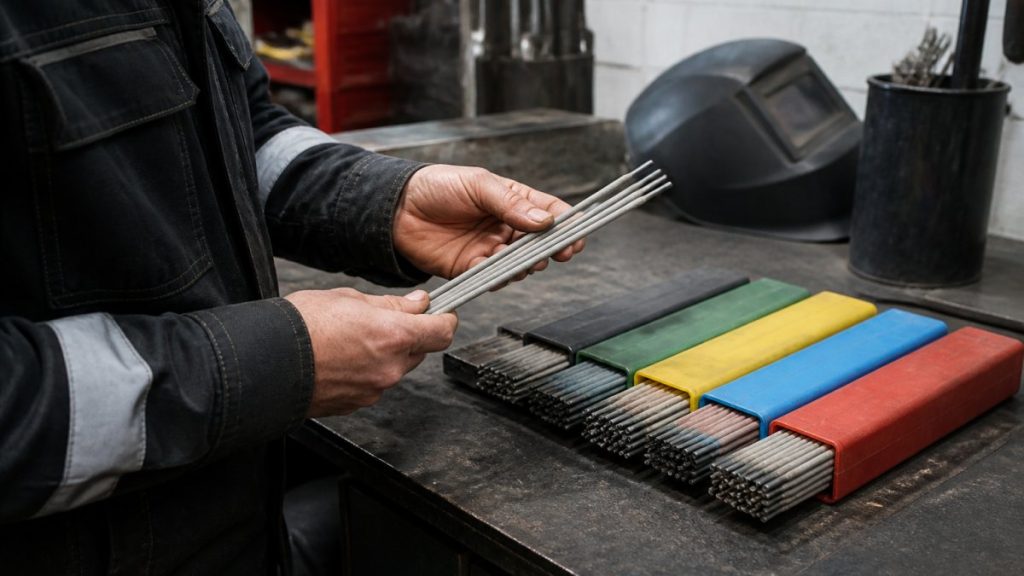
Welding rod numbers tell you everything about an electrode’s properties. The code looks cryptic at first. It becomes clear once you break it down.
Take E7018 as an example. The “E” means electrode. The first two digits (70) show tensile strength in thousands of pounds per square inch. So 70 = 70,000 PSI. Higher numbers mean stronger welds.
The third digit indicates position capability. A “1” means you can use it in all positions: flat, vertical, overhead, and horizontal. A “2” limits you to flat and horizontal only.
The final digit describes the coating and current type. This affects how the electrode behaves during welding. Different coatings produce different slag characteristics and weld appearance.
Common codes you’ll see:
- E6010: Fast-freeze, all positions, deep penetration
- E6013: General-purpose, all positions, shallow penetration
- E7018: Low-hydrogen, all positions, excellent strength
- E7024: High-deposition, flat and horizontal only
Understanding welding rod numbers explained helps you avoid expensive mistakes. Buy the wrong rod and your weld fails. Buy the right one and your project succeeds.
Stick Welding Electrode Sizes and Their Uses
Stick welding electrode sizes range from 1.6mm to 5.0mm diameter. Smaller electrodes suit thin materials. Larger ones handle thick plates and high-current applications.
The 2.5mm electrode is the workhorse. It handles most general fabrication work. You’ll use it more than any other size.
For thin sheet metal under 3mm, choose 1.6mm or 2.0mm electrodes. These run at lower amperage. They prevent burn-through and distortion on delicate work.
Thick plate work needs 3.2mm or 4.0mm sizes. These carry more current. They deposit metal faster and create stronger joints in heavy sections.
Stick welding electrode sizes affect your travel speed and penetration. A larger electrode moves faster but requires more power. A smaller one moves slower but works on machines with lower capacity.
Here’s how to match size to thickness:
| Metal Thickness | Electrode Size | Typical Amperage |
|---|---|---|
| 1.5-3mm | 1.6-2.0mm | 40-90A |
| 3-6mm | 2.5mm | 80-150A |
| 6-10mm | 3.2mm | 120-200A |
| Over 10mm | 4.0-5.0mm | 180-300A |
E6013 vs E7018: Which Electrode Should You Use?
E6013 and E7018 are the two most common electrodes. Beginners often confuse them. They’re not interchangeable.
E6013 is the easier choice for learning. It tolerates poor technique better. It forgives inconsistent arc length. It works on older or less stable machines. It produces easy-to-remove slag.
E7018 is stronger but demands more skill. It requires steadier hand control. It needs consistent travel speed. It works best on modern machines with good power regulation. It produces tougher, higher-strength welds.
For structural work where safety matters, E7018 is mandatory. For practice work and general fabrication, E6013 teaches better habits.
E6013 vs E7018 comes down to your application. E6013 suits:
- Learning to weld
- Mild steel fabrication
- Older equipment
- Rusty or painted surfaces
E7018 suits:
- Structural steel
- High-strength requirements
- Modern welding machines
- Clean metal surfaces
Many professionals keep both types to hand. They switch based on the job requirements.
Reading a Welding Electrode Amperage Chart
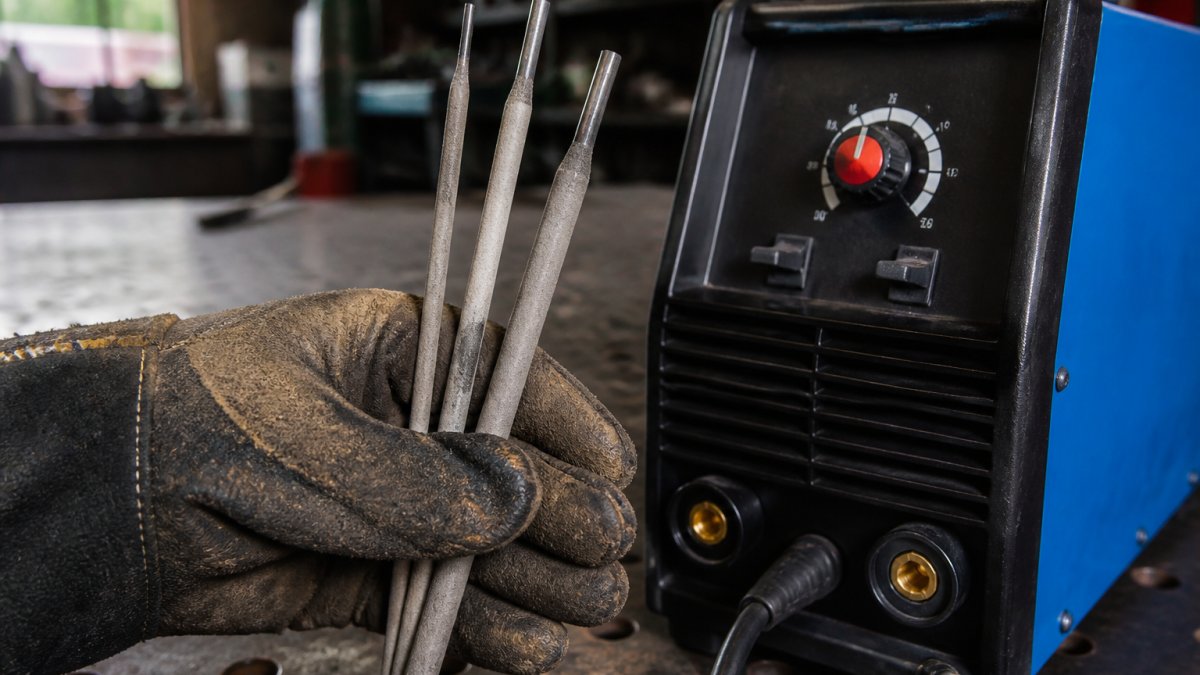
Every electrode has a recommended amperage range. This range appears on the box or in manufacturer data. Respect it.
Too little amperage produces weak, porous welds. The arc struggles. Metal doesn’t fuse properly. Your joint fails.
Too much amperage burns through thin metal. It creates excessive spatter. It produces brittle, weak welds despite high heat.
The sweet spot is where the electrode manufacturer tested their product. For E7018, that’s typically 90-150 amps depending on size. For E6013, it’s 40-100 amps.
Amperage charts show the relationship between electrode diameter and recommended current. A 2.5mm E7018 runs at roughly 120 amps. A 3.2mm E7018 runs at roughly 150 amps.
Your machine dial should land in the middle of the recommended range. This gives you margin for error. Too hot or too cold becomes obvious quickly.
Start at the lower end when learning. Once you feel confident, move toward the middle. Never exceed the maximum unless the manufacturer specifically allows it.
Step-by-Step: Selecting the Right Electrode for Your Project
Step 1: Identify your metal type. Is it mild steel, stainless, or something else? Different metals need different electrodes. Mild steel dominates most work.
Step 2: Measure your metal thickness. Use callipers or a ruler. Thickness drives electrode size selection. Thicker metal needs larger electrodes.
Step 3: Check your machine capacity. Find the maximum amperage your machine delivers. This limits your electrode choices. You cannot use a 5.0mm rod on a 150-amp machine.
Step 4: Consider the joint position. Will you weld flat, vertical, or overhead? Some electrodes work in all positions. Others only work flat and horizontal. Choose accordingly.
Step 5: Determine strength requirements. Does this weld need to be strong or is it decorative? Structural work demands high-strength electrodes like E7018. General work tolerates E6013.
Step 6: Select your electrode type. Match all factors above. Write down the code (E6013, E7018, etc.) and diameter (2.5mm, 3.2mm, etc.).
Step 7: Set your amperage. Find the electrode box or datasheet. Look for the amperage range. Set your machine in the middle of that range.
Step 8: Test on scrap metal first. Always practice before starting your actual project. Adjust amperage if needed. Watch for proper fusion and appearance.
Common Mistakes to Avoid When Choosing Welding Electrodes
Mistake 1: Ignoring metal thickness. Many beginners grab whatever electrode they have. They don’t match it to the job. This causes burn-through on thin metal or weak fusion on thick metal.
Mistake 2: Exceeding machine capacity. A 3.2mm electrode needs 150+ amps. Your 100-amp machine cannot deliver it. The arc starves. The weld fails. Know your machine limits.
Mistake 3: Using old or damp electrodes. Electrodes absorb moisture from humid air. Wet electrodes produce porous, weak welds. Store them in a dry cabinet. Replace them if they’ve been exposed to humidity for weeks.
Mistake 4: Confusing position ratings. An electrode rated for flat and horizontal only will fail overhead. Always check the third digit in the code. The “1” means all positions. The “2” means flat and horizontal only.
Mistake 5: Running wrong amperage. Too hot or too cold produces bad welds. Always check the manufacturer’s range. Stay in the middle. Don’t guess.
Mistake 6: Mixing electrode types carelessly. E6013 and E7018 have different properties. Switching between them mid-project creates inconsistent results. Pick one and finish the job.
Mistake 7: Buying the cheapest option. Cheap electrodes often come from unknown sources. Quality control suffers. Your welds suffer. Buy from reputable suppliers.
Choosing welding electrodes for beginners means avoiding these pitfalls. Each one costs time, money, or safety.
Selecting the right electrode transforms your welding results. The process seems complex at first. It becomes automatic with practice.
Start with E6013 and 2.5mm size on mild steel. This combination teaches good technique on most machines. As you gain confidence, expand to other types and sizes.
Norsemen Safety stocks a full range of quality electrodes from trusted manufacturers. Our team understands the differences between electrode types and can guide you toward the right choice for your specific application. Shop now and get the electrodes that match your welding machine and project requirements.
Frequently Asked Questions
Which welding electrode is best for beginners?
E6013 is widely considered the best electrode for beginners. It produces a smooth arc, is forgiving of poor technique, and works well on rusty or dirty steel. E7018 is also suitable once you gain confidence, but E6013’s easier handling makes it the ideal starting point. Both electrodes work on mild steel, the most common material for beginner projects.
What do the numbers on a stick welding rod mean?
Welding rod numbers follow a standardised code. The first two digits (e.g., 60 in E6013) indicate tensile strength in thousands of PSI. The third digit shows the position capability: 1 means all positions, 2 means flat and horizontal only. The final digit indicates the flux type and current characteristics. Understanding this code helps you select electrodes suited to your specific welding position and material.
How do I match an electrode to my welding machine?
Check your welding machine’s manual for its amperage range and the electrode types it supports. Then match your electrode diameter to the recommended amperage. A 3.2 mm electrode typically runs at 90-130 amps, while a 4.0 mm electrode requires 130-180 amps. Always start within the lower range of the recommended amperage and adjust upward as you gain confidence.
What is the difference between E6013 and E7018 electrodes?
E6013 electrodes produce lower tensile strength (60,000 PSI) and are easier to control, making them ideal for beginners and thinner materials. E7018 electrodes offer higher tensile strength (70,000 PSI) and produce stronger welds, but require steadier technique and are better suited to thicker materials and structural applications. Both work on mild steel, but E7018 is better for load-bearing projects.